I got a new toy - a
gelli plate! Wow - what fun!
I used mostly craft paint. On the one above I used a tooth pick to doodle for the first layer (I learned that a tooth pick is not a tool for this!) The second layer I applied yellow paint and learned it is more opaque than I'd wanted (so I realize I have a lot to learn about translucent and opaque paints!). I pressed punchenella into the paint before laying down the alpha stencil before printing (realizing afterwards it was backwards). So on the very first one I learned a lot!
This is some of the stash. I used stencils, punchenella, bubble wrap and a comb for printing pattern on sketchbook paper and card stock.
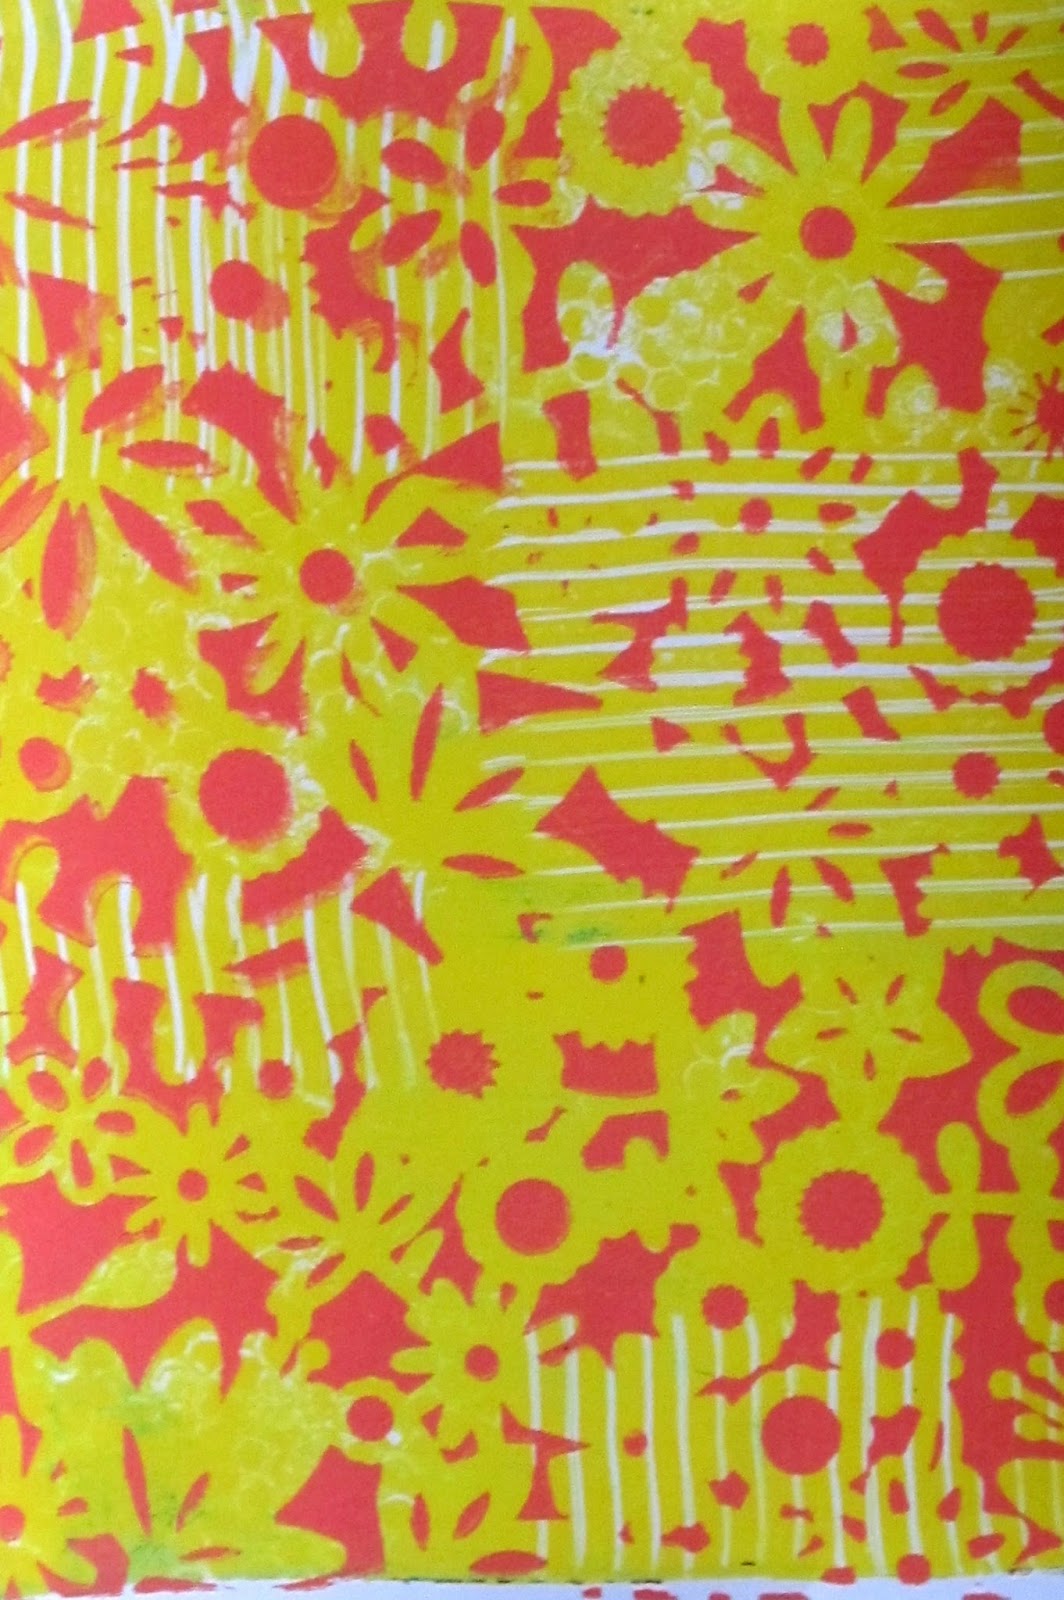
I started with yellow paint and a comb for pattern for the first layer and then a salmon color with the stencil for the 2nd layer. I really like how it turned out.
This one is the leftover of the one above (not sure what the technical term is). Then I used a metallic turquoise with a different stencil for the 2nd layer. There is also a white paint stencil on there. Sorry but I didn't keep notes while I was doing these so could never replicate it. But that's the fun for me!
This is on card stock paper with two layers.
I really cannot tell you what this is other than it has a different stencil in each layer using the salmon color and the metallic paint. It is very cool in person!
My intention is to create papers for collage and some pages for journals. Perhaps out of the experimentation will come a few sections that can be used on the front of blank greeting cards.
I must create a "guide" to my paints - transparency versus opaque. I also should keep a record of what I'm doing as I go ... however ... this technique is
so much fun that there is no way I want to stop in the middle and make notes! I love that these are not meant to be "complete works of art" - adds to the
excitement of experimentation. You simply don't know what the print will look like! Next session will include deli paper.






 Posts
Posts

